A DNS leak occurs when your DNS requests pass outside the VPN tunnel or the expected configuration. It can reveal the domains you visit, even if your IP address appears to be masked.
Key takeaways
- DNS translates domain names into IP addresses.
- A DNS leak can expose your requests to your ISP.
- It often occurs with poor VPN or IPv6 configuration.
- You should regularly test your VPN with a dedicated tool.
Understanding DNS requests
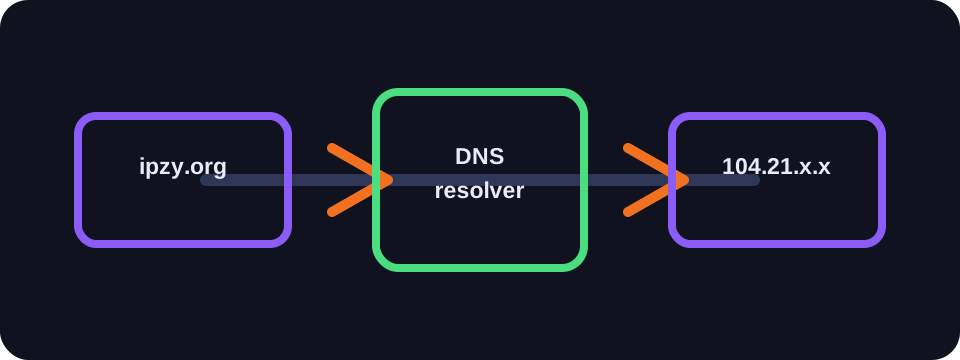
When you type a domain name, your device needs to find the IP address of the corresponding server. It queries a DNS resolver for this. By default, this resolver may be that of your access provider, your router or a public service.
DNS is therefore a sensitive source of information: it does not necessarily contain the content of pages, but it can reveal the domains you are trying to reach.
What is a DNS leak?
A DNS leak appears when you use a VPN but DNS requests continue to pass through your ISP's resolver or through an unprotected route. Your visible IP may be that of the VPN, while your DNS requests still indicate your real network.
This problem reduces the privacy benefit of the VPN. It can also create inconsistencies between your IP location and your DNS servers.
Common causes
- VPN without built-in DNS protection.
- Incorrect manual DNS configuration.
- IPv6 active while the VPN does not support it.
- Poorly configured split tunnelling.
- Applications that force their own DNS resolver.
How to test and protect yourself
Use a DNS test site while your VPN is active. The DNS servers displayed should correspond to the VPN or the intended provider, not your local ISP. Also test IPv6 and WebRTC if your goal is privacy.
Choose a VPN with DNS leak protection, enable the kill switch if available and avoid manually modifying DNS settings without understanding the impact.
Conclusion
DNS leaks are subtle but significant. A VPN that masks the IP while letting DNS requests leak offers less protection for your activity. A quick test can detect the problem.
How to use this guide in practice
To use this guide on DNS leak reliably, start by checking the context of your connection: home network, mobile network, company network, VPN, proxy or server. The same result can mean different things depending on the exit point being used. IP information should therefore be read together with other clues, such as provider, ASN, country, address type and DNS settings.
Avoid jumping to conclusions. Many network data points are approximate, shared or dependent on a third-party provider. If you are troubleshooting, note the test time, network used, VPN state and browser involved. These details make comparisons more useful and help separate a real issue from a normal routing effect.
Quick checklist
- Compare the DNS result on two different networks if possible.
- Run the test again after enabling or disabling a VPN, proxy or private DNS.
- Note whether the address is residential, mobile, business, hosted or shared.
- Do not treat an IP address as proof of identity without technical and legal context.
This checklist turns an isolated lookup into a reproducible diagnosis. It is especially useful when two tools show different results or when a service blocks a connection without explaining the reason clearly.
Limits to keep in mind
Results can change over time because of dynamic address assignment, operator routing changes, IP database updates or the use of an intermediary service. A single test is a snapshot of the moment, not a permanent truth.
FAQ
Does a DNS leak reveal my complete history?
It can reveal domains requested, but not necessarily the exact pages or content visited.
Does DNS over HTTPS prevent all leaks?
It can help, but it depends entirely on the browser, system and VPN configuration.
Should I disable IPv6?
Only if your VPN does not handle it correctly or if your tests show an IPv6 leak.